

Yet another CMS tutorial: “What are the benefits of using a CMS for my business and how should I apply it?”
5 min
Feb 13, 2019
What is CMS?
A Content Management System is a software application that allows several contributors to manage (create, edit, publish) digital assets on a website.
Having a CMS helps non-technical business owners to have a direct impact on the content without knowing programming languages such as Ruby on Rails, PHP or HTML.
What are the benefits of running a website with a CMS?
- It is user-friendly;
- You can update the content without a deploy;
- It is SEO-friendly;
- It offers a variety of extensions and plugins;
- It is easy to update and maintain;
Why a CMS is important to my business?
Basically, a CMS allows you to reduce the maintaining costs, come up with website updates remotely, have other non-technical team members make changes directly and keep under control the consistency of your website.
Other useful business perks of implementing a CMS is the easiness with which the content on the website can be optimized for the search engines.
What CMS should I use for my website?
There are several CMS providers you can choose from. For example, at Wolfpack Digital we have built CMSs using Active Admin and Administrate. But from our experience, some CMS are not customizable enough and building one from scratch takes lots of resources. This is where FAE CMS steps in and saves the game.
How to use FAE CMS — the tool for building a powerful CMS?
We want to introduce a Ruby on Rails gem which is easy to use and has many built-in features. The FAE CMS is completely customizable and has legacy support down to Rails 4.1.
Hence this is a very common thing used to ease both technical and business operations, we decided to make a short tutorial to show how to apply FAE CMS to a website for any kind of business. Most of the brands have created their blog in order to communicate, educate and engage with their users. Next, we have prepared a step-by-step tutorial on how to manage blog content on your website.
A step-by-step tutorial on how to use FAE CMS
Create a new Rails application.


Add fae-rails to Gemfile and install it.
In your Gemfile add the following line:


And then run the following commands in order to install it:

Let’s start our application and see what we have so far.
- the fae install command mounted the fae engine in config/routes.rb.
You should see mountFae::Engine => ‘/admin - start the run bin/rails server and then visit http://localhost:3000/admin
- the first time you access the /admin route it will ask you to create a Superadmin Account.
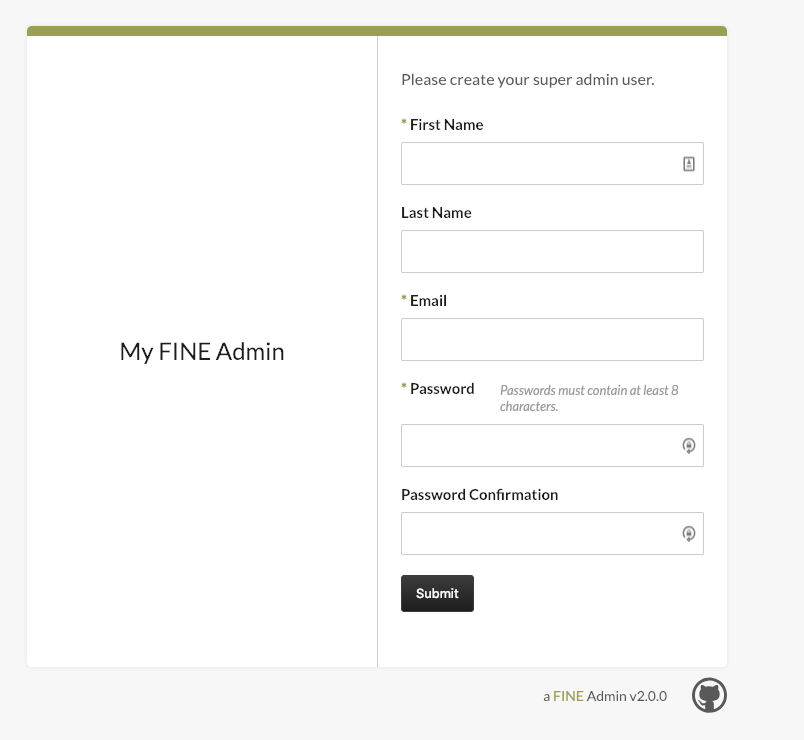
The process of creating a Superadmin Account
- go ahead an create an account and you will be redirected to the admin page. As you can see, it automatically used my profile picture from gravatar. How cool is that? 😎
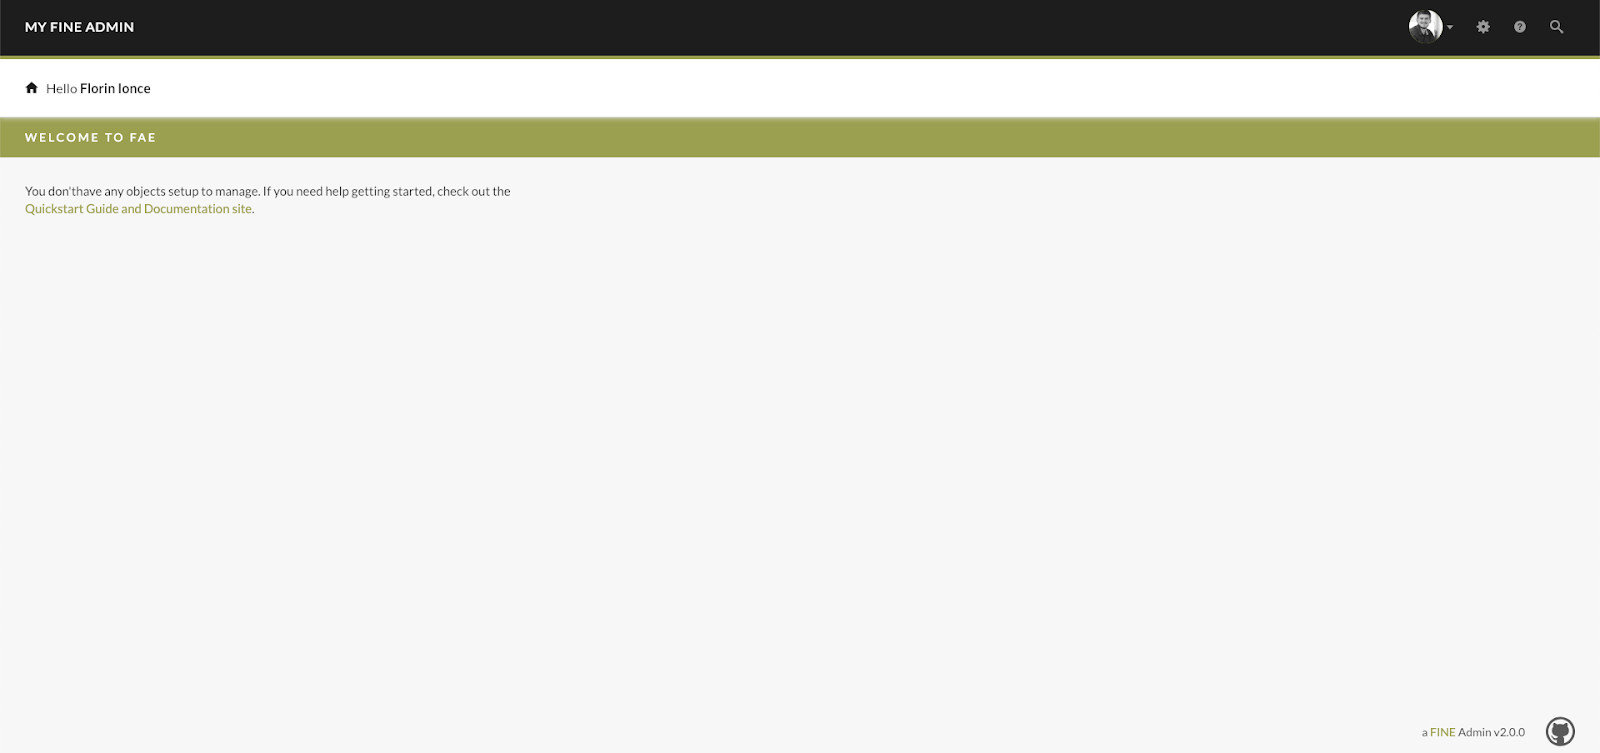
The Admin page that automatically has used my profile picture from gravatar
- On the right corner, you can see the settings menu from where we can add new users to the CMS (adding a new user already have some predefined roles — awesome 🤗) or see the activity log. This is useful for tracking some changes or see who published what etc.
Also, we can configure the root settings of the application.
It has some pretty neat features out of the box such as favicon, production and staging URL, default time zone, logo.
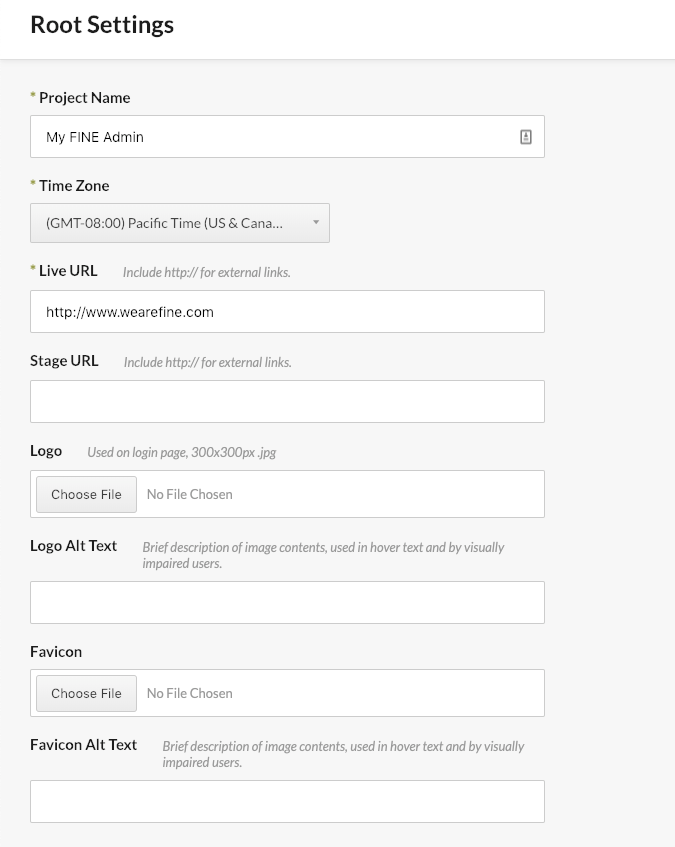
The Root Settings configuration with some neat features
PS: This can be used to add additional information like meta tags or keywords.
Let’s see how easy it is to add some models and content using Fae.
- create the BlogpostCategory model by running:

- create the Blogpost model by running:


- don’t forget to run the migrations and restart the server.
- if you go to your admin page you should be able to see the Blogpost categories and Blogpost sections in the navbar.
- let’s go ahead and create two categories and then create a new blog post.
- you should see something like this:
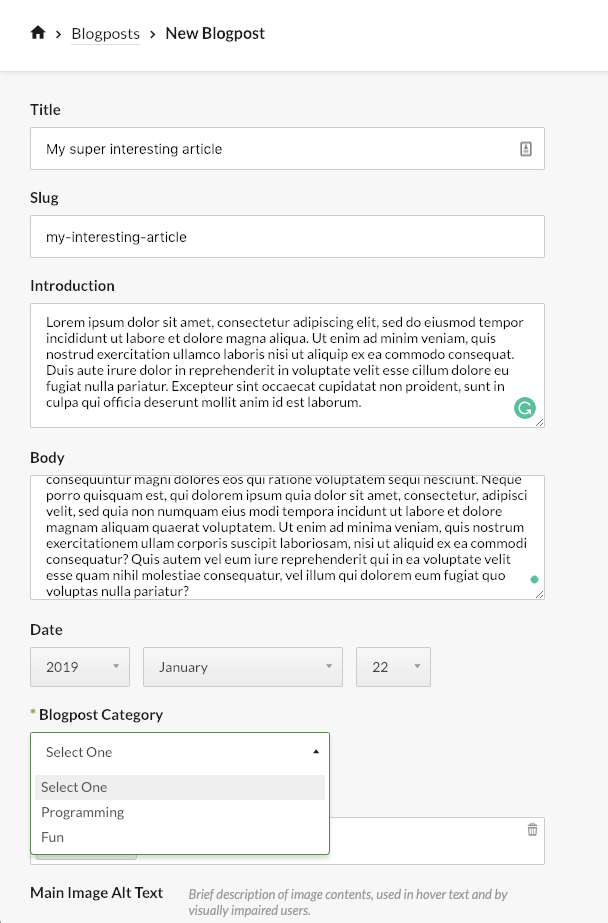
How to create a new Blog post
By the way, FAE it’s using Carrierwave by default, so any cool thing you can do with carrierwave you can do with FAE just as easy.
Quite cool, but for a blog post, I will for sure need a rich text editor. Here is an easy way to add one.
- open app/views/admin/blogposts/_form.html.slim and change the following lines:


- to:

- Basically just add markdown: true to the fields you want to have the rich text editor functionality.
- The inputs will change to this:
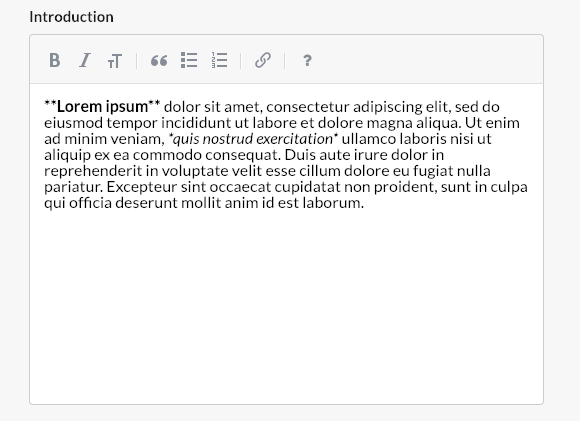
It’s magic!

But hey, I don’t want my title to be longer than 50 characters, so I’ll go ahead and add a basic validation in my blogpost.rbmodel:
- add validates :title, length: { maximum: 50 } inside app/models/blogpost.rb
- refresh the page and what do you notice? That’s right! It has also added a fancy front-end validation. Magic part 2.
The front-end validation
You can read more about their validations here. Thank me later.
Still, what’s so cool about it? We have all the views from the scaffold already generated in the project and we can easily change whatever we want on them — it’s extremely easy to configure them.

By the way, did I mention that it uses slim by default?
Another thing I love about these forms is that even though they use their own DSL (see fae_input, fae_association etc) — they are using the simple_form gem. This can be useful when you need something which FAE’s DSL is not supporting by default.
For example, let’s say we want to add some keywords from an array to our blog post.
I suggest we create a new migration and add a jsonb called keywords on our blog post model by running:


Open the generated file and change:


To:

In order to initialize the keywords object with an empty array.
Run the migrations and then add the following line inside app/views/admin/blogposts/_form.html.slim


I know it’s bad to hardcode the options in the view, but this is for demo purposes only and I’m sure such code will never make it to production. 😂
- start the server and refresh the blogs form page and notice that it comes with a neat multi-selector by default.
The multi-selector which comes by default
PS: Have you ever wondered why we added the position field on the blog post category model?
Check this out:
Choosing the order of the items manually
That’s right! If FAE detects a position field it automatically allows you to set up the order of the items.
Just one more feature and then I’m done. I promise. 😇
Generate a simple page where we display all the blog posts for the users.
Let’s generate a simple controller by running


Open config/routes.rb and set this as our default route by adding:


Right below Rails.application.routes.draw do
If you open your server again and go to http://localhost:3000 you should see this:
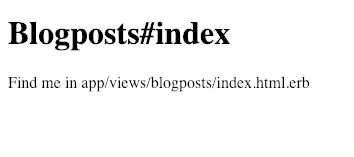
Not much, right? Let’s add a list of blog posts.
- Open app/controllers/blogposts_controller.rb
- And inside the index method add the following line:


- Inside your view add the following:


- And you should see something like this:
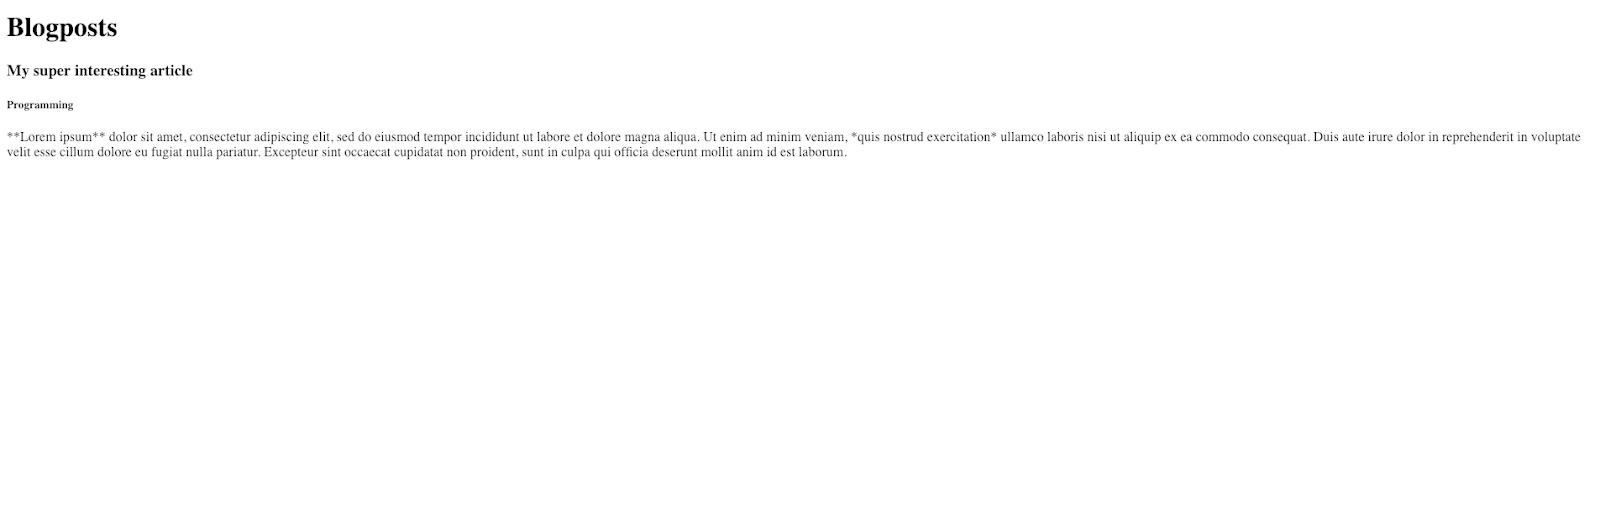
In the end, this is how things should look like
I know the introduction is not displayed as markdown, you’ll need to set up a markdown renderer like redcarpet.
Congrats on surviving the “Yet another CMS tutorial”!
I’ll leave the entire code here just in case you might need it for practice. You know what they say. Sharing is caring.
Useful resources
Check the FAE CMS documentation:
https://www.faecms.com/documentation
At the end of the day, the main purpose of the FAE CMS is to take the repetitive and time-consuming tasks off your shoulders and let you focus on the business logic and let the tools do part of the work for you.
Want us to build your app? Contact us and let's build powerful web and mobile apps together!
Want to work with us? Because Wolfpack Digital is hiring.
In case you are a Front-End developer and you want to test your skills, we have prepared a Quiz for you.
💪 Take the Quiz Now.
pack knowledge
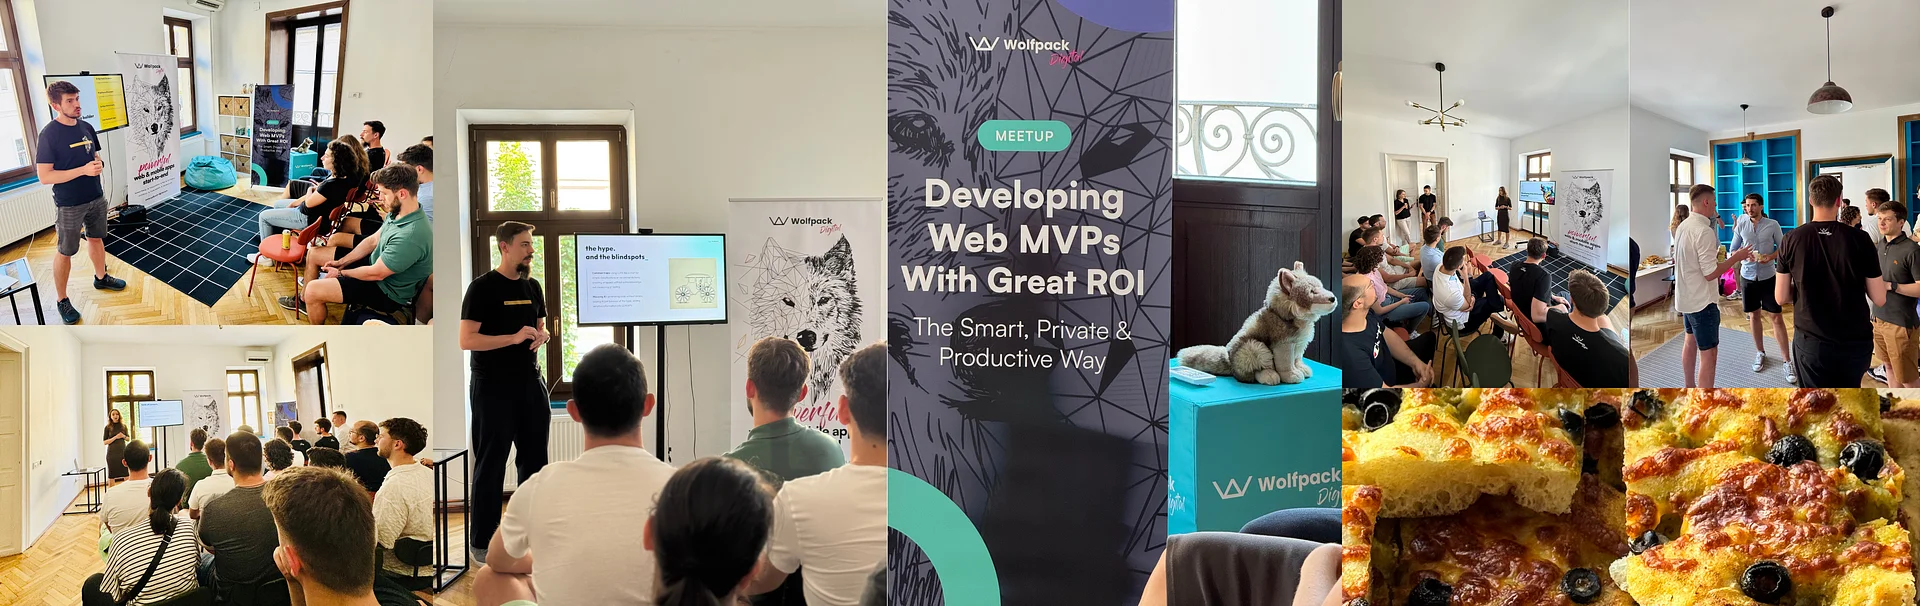
Developing Web MVPs with Great ROI — Recap of Our June 18 Meetup

Gina
Founder & co-CEO
3 min
Jun 23, 2025
Recap of Wolfpack Digital’s June 18 meetup on building Web MVPs with great ROI — featuring exclusive insights from serial entrepreneurs, T-shaped developers, and AI-driven coding tips, plus delicious focaccia and a vibrant networking atmosphere for passionate coders and startup enthusiasts.

The Role of Product Managers in Software Development

Adrian
Product Owner
7 min
Jun 11, 2025
How Product Managers drive collaboration, clarity, and impact across the software development lifecycle.

Q1/2025 Wrap-Up: A New Year, the Same Pack

Oana
Marketing Specialist
7 min
May 9, 2025
2025 started strong for us, with bold new projects published on our website, team celebrations, and impactful community involvement. Recognized by industry leaders and committed to building accessible, high-performing digital products, we are setting the tone for another outstanding year. Here’s to the journey ahead! 🐺✨


Brief us and let’s work together